Getting ready for an interior painting project? Whether you’re tackling a full home makeover or refreshing a single room, preparation is key to achieving clean lines, flawless finishes, and a stress-free experience.
At Davis Painting, we handle every job with care—but a little preparation by homeowners goes a long way. Here’s our 7-step interior painting prep checklist, tailored for homes across Pennsylvania and New Jersey.
1. Move and Cover Furniture
Clear the room of as much furniture as possible. For heavier items:
-
Move to the center of the room
-
Cover completely with plastic drop cloths or old sheets
-
Tape coverings to the floor to avoid slipping
Bonus: Removing furniture gives painters easier access to trim and baseboards, saving you time and money.
2. Take Down Wall Décor and Fixtures
Before painting starts:
-
Remove all artwork, mirrors, clocks, shelves
-
Take down curtains or drapes
-
Unscrew outlet covers, switch plates, and any wall-mounted hardware
Use labeled bags to keep hardware organized for reinstallation.
3. Clean the Walls and Trim
Dust, cobwebs, and oils can prevent paint from bonding properly.
-
Wipe down walls with a damp cloth or mild soap
-
Pay special attention to baseboards and door frames
-
For greasy spots (especially in kitchens), use a degreasing cleaner like TSP
“We often see adhesion issues in kitchens and stairwells due to built-up oils. A quick wipe down makes all the difference.” – Davis Painting Crew
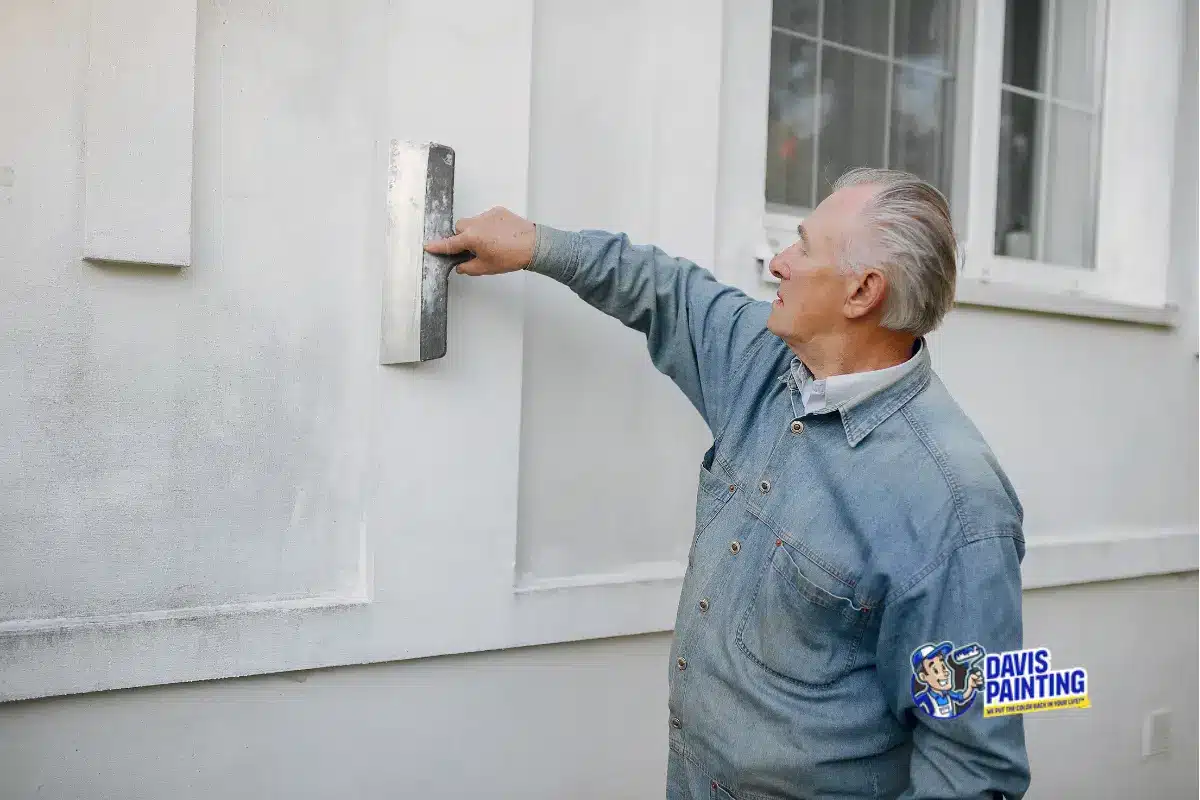
4. Repair Nail Holes and Wall Damage
While Davis Painting handles major patchwork, it helps to:
-
Fill small nail holes with spackle
-
Lightly sand rough spots or raised edges
-
Mark problem areas with painter’s tape for quick reference
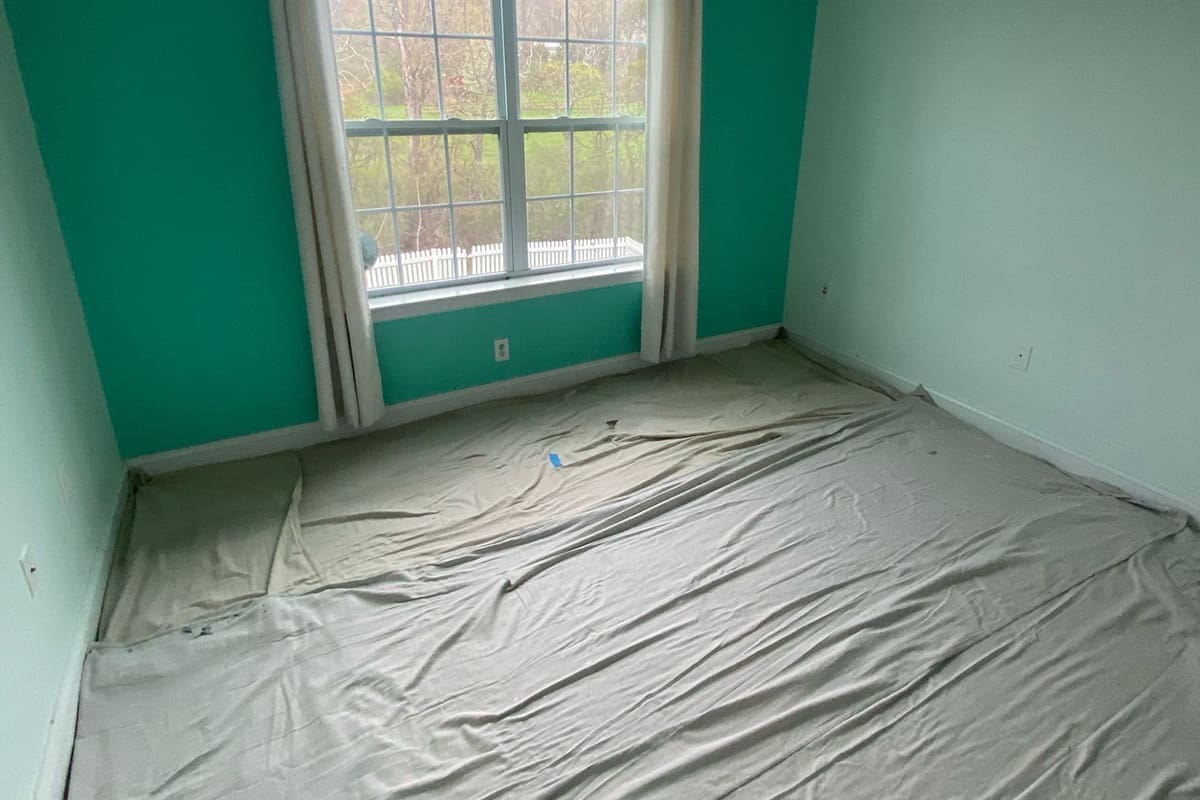
5. Remove or Protect Flooring
For hardwood, tile, or carpeted floors:
-
Use rosin paper, canvas drop cloths, or painter’s plastic
-
Tape edges securely, especially around baseboards
-
For DIY: avoid bedsheets—they absorb spills but don’t block bleed-through
6. Clear Horizontal Surfaces
Paint dust and debris can settle on:
-
Bookshelves
-
Mantels
-
Window sills
-
Open shelving units
Clear or cover these areas to avoid extra cleaning later.
7. Create a Ventilation Plan
If painting in winter, crack windows slightly and use fans. In summer:
-
Run HVAC fans or exhaust systems
-
Isolate painted rooms with closed doors or plastic sheeting
Using low-VOC paints, as we do at Davis Painting, helps reduce fumes—but good airflow still speeds up drying.
Bonus: Prep Tips for PA & NJ Homeowners
-
Humidity matters: Avoid washing walls too close to paint day in muggy NJ summers
-
Drying times are longer during wet fall months in PA—use fans when possible
-
Temperature fluctuations can cause condensation on walls—check weather if you’re prepping ahead
📞 Request your free estimate today from Davis Painting — serving Bucks, Montgomery, Chester, Delaware County, and all of New Jersey.